
































Disclosure: This article contains no paid links or sponsored mentions. If we add affiliate links later, we’ll mark them clearly. Planting dates vary by location, so use our ZIP frost calendar for yours.
When to plant garlic surprises many new gardeners, because the answer is fall, not spring. Cloves go into the ground as the weather cools, settle in over winter and grow into full bulbs by the next summer. Get the timing right, and garlic is one of the easiest crops you’ll ever grow.
Garlic needs a long stretch of cold to form good bulbs, and that’s why it goes in during autumn. The clove sends out roots before the ground gets too cold, rests through winter, then grows quickly in spring. Garlic planted in spring often makes smaller bulbs than garlic planted the fall before.
It’s also a crop that asks for very little once it’s in the ground. There’s no indoor seed starting, no lights and no daily care. A few hours of work in fall, some mulch and a bit of weeding in spring are most of what stands between you and a year’s supply.
When to plant garlic in fall
The goal is to give each clove time to grow roots, but not so much time that green shoots push up and get damaged by hard cold. A common guide is to plant about three weeks before the ground freezes. Another is to plant a week or two after your first hard frost in fall.
Where winters are colder, that usually means planting from early to mid fall. Where winters are milder and the ground rarely freezes, garlic often goes in during mid to late fall, and the cloves keep growing slowly through the cool months.
Your first hard frost date is the easiest anchor to use. Enter your ZIP code in our ZIP frost calendar to find it. Where winters are colder, plant a week or two after your first hard frost. Where winters are milder, many gardeners plant in mid to late fall, often a few weeks before it.
Choose the right garlic to plant
Garlic grows from cloves, not seed, so learning how to grow garlic starts with good stock. The bulbs you buy are your planting stock. Look for seed garlic sold for planting, and choose firm, healthy bulbs with no soft spots or mold. Many garlic diseases come in on planting stock, so starting clean matters.
Grocery store garlic is a gamble. It’s often a type grown in mild climates that may not suit your garden, and some is treated to slow sprouting. Garlic sold for planting is a safer choice, and you can save your own biggest bulbs to replant once you’ve grown a good crop.
Hardneck garlic grows a stiff central stalk and a curly flower stem called a scape. It usually forms fewer, larger cloves and is a common choice where winters are colder. The scapes are edible, too. Snip them once they start to curl and use them in cooking like a mild green garlic.
Softneck garlic has a soft, flexible stalk and no scape in most conditions. It tends to make more cloves per bulb, stores well and is easy to braid. It’s the type often sold in grocery stores, and it’s a common choice where winters are milder.
Prepare the bed before planting
Before you plant garlic, find a spot with full sun and loose, well-drained soil rich in organic matter. Heavy, wet soil can rot cloves over winter and give you misshapen bulbs. Work in compost or well-rotted manure before planting, but skip fresh manure, which can carry harmful bacteria and add weeds.
Pick a spot where you haven’t grown onions and garlic or their relatives recently. Rotating where you plant helps limit pests and diseases that build up in the soil. A raised bed or a slightly mounded row works well if your yard tends to stay soggy.
Clear out weeds and old plant debris before planting garlic. Young garlic doesn’t compete well with weeds, and a clean bed in fall means far less weeding in spring. Loosen the soil several inches deep so the bulbs have room to swell without pushing against hard ground.
How to plant garlic cloves
Break bulbs into individual cloves no more than a day or two before planting, and leave the papery skins on. Plant the largest cloves, since big cloves grow big bulbs. Small cloves make small bulbs, so cook with those instead of planting them.
Set each clove pointed end up and flat end down, about two inches deep. Space cloves roughly four to six inches apart, with rows about a foot or more apart. Closer spacing gives you more bulbs but smaller ones, while wider spacing lets each bulb grow larger.
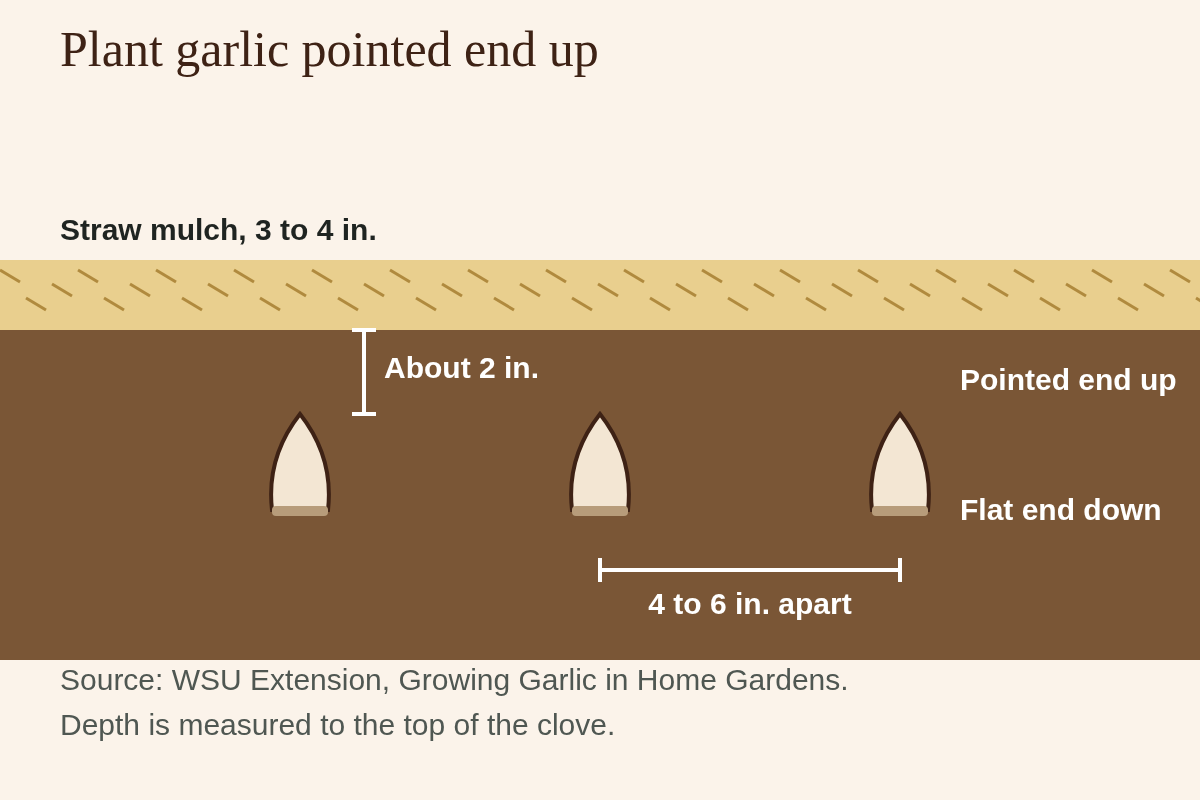
Cover the cloves, firm the soil gently and water the bed if the soil is dry. Then spread three to four inches of straw or shredded leaves over the top. Mulch keeps soil temperatures steady through winter, helps stop freezing and thawing from heaving cloves out of the ground, and smothers weeds.
Care through winter and spring
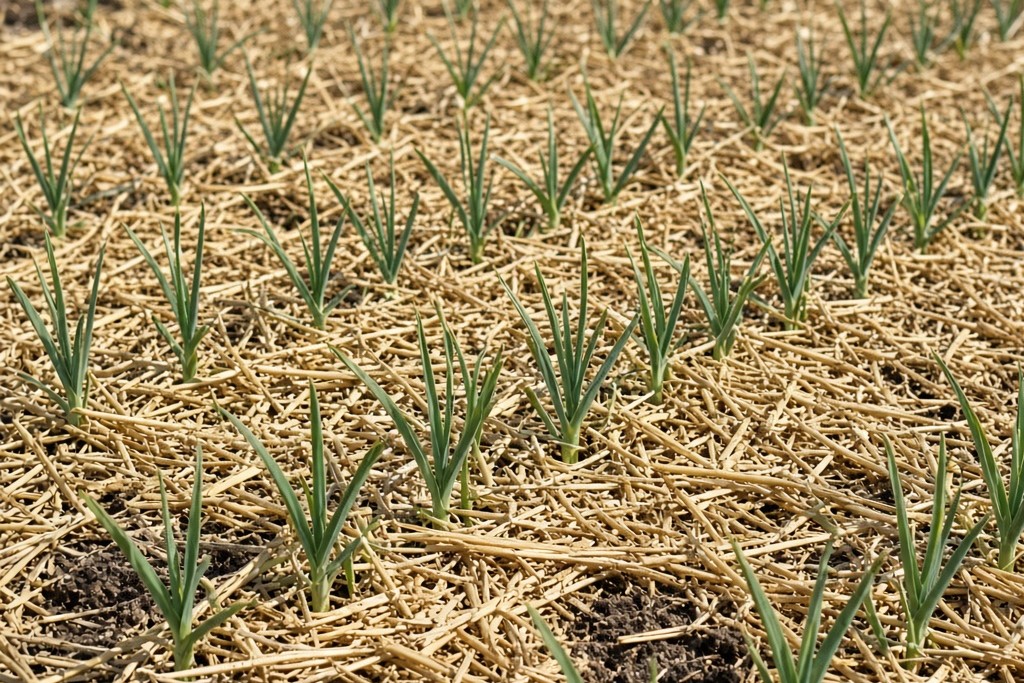
Once garlic is mulched, there’s little to do until spring. Roots grow while the soil is still workable, and shoots may stay hidden until the weather warms. Where winters are milder, green leaves may show through the mulch for much of the season, which is normal.
In spring, when the danger of hard freezes is over, you can pull the mulch back to help the soil warm, or leave it in place to hold moisture and keep weeds down. Weed by hand or with a shallow hoe, taking care not to nick the bulbs below.
Garlic needs steady moisture while it grows in spring. Aim for about an inch of water a week from rain or watering, soaking the soil rather than sprinkling. Stop watering about two weeks before harvest, which helps the bulbs cure well and lowers the risk of disease.
A light feeding of fertilizer in early spring, as shoots start growing, supports strong leaves, and each leaf helps build a bigger bulb. If you worked plenty of compost into the bed in fall, your garlic may need little extra feeding. Follow the label rate on any product you use.
Growing garlic in pots
If you don’t have a garden bed, garlic grows well in pots too. Choose a container at least 8 inches deep with drainage holes and fill it with a quality potting mix rather than garden soil. Plant the cloves at the same depth and spacing you’d use in the ground, then mulch the surface.
Pots get colder than the ground in winter, since cold reaches the roots from every side. Where winters are colder, move the container against a sheltered wall or into another unheated, sheltered spot during the hardest freezes. Containers also dry out faster, so check the mix often once spring growth starts.
When and how to harvest garlic
Fall-planted garlic is usually ready in early to midsummer, depending on your climate and the variety. Watch the leaves for the signal. Begin harvesting when the lower leaves have turned brown and about half of the upper leaves are still green.
Timing matters at both ends. Dig too early and the bulbs are small. Wait too long and the cloves start to separate and the wrappers split, which shortens storage life. If you’re unsure, dig one bulb and cut it in half. If the cloves fill their skins, the crop is ready.
Loosen the soil with a garden fork and lift the plants with the leaves still attached. Don’t pull them by the stem, which can snap off the bulb. Gently knock off large clumps of soil, but don’t wash the bulbs, since moisture can lead to rot during storage.
Cure and store your garlic
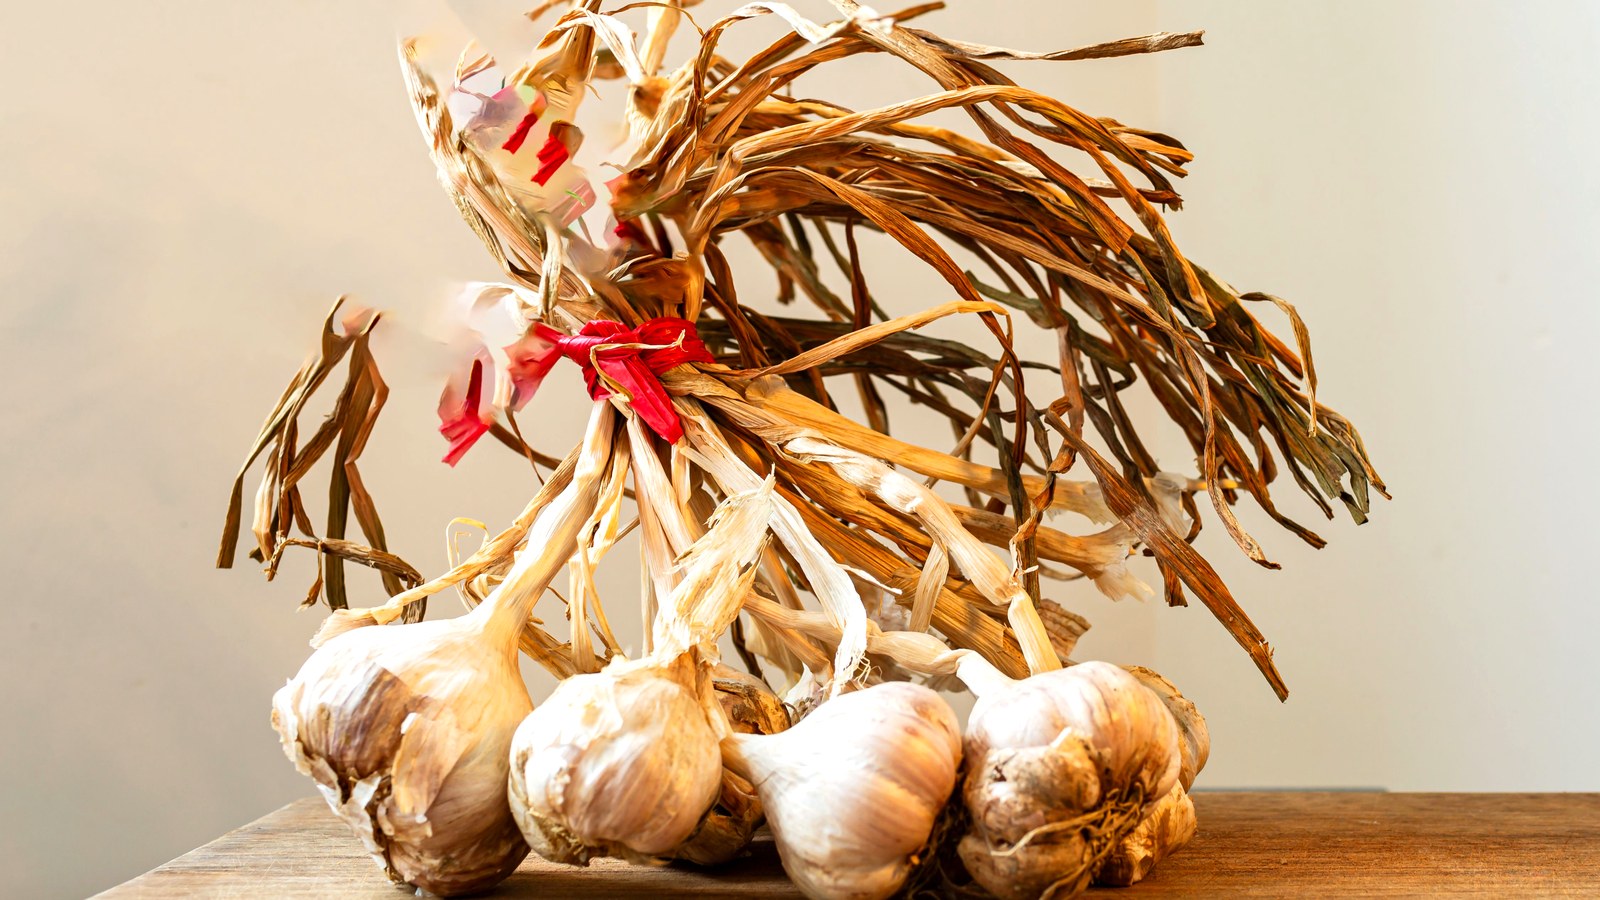
Curing dries the outer wrappers so garlic keeps for months. Hang plants in bundles or lay them in a single layer in a warm, dry, airy spot out of direct sun. Leave them for about two to four weeks, until the wrappers are papery and the necks are dry.
After curing, trim the roots close to the bulb and cut the stalks about half an inch to an inch above it. If you grew softneck garlic, you can leave the stalks on and braid them instead. Store the bulbs in a cool, dry place with good airflow.
Set aside your biggest, healthiest bulbs for replanting in fall. Saving your own planting stock costs nothing, and you’ll know exactly what you’re planting. That turns one purchase into a crop that renews itself every year.
Your garlic plan for this fall
So when to plant garlic comes down to fall, timed around your first frost. Choose healthy planting garlic, prepare a sunny, well-drained bed and set the largest cloves pointed end up. Mulch well, keep weeds down in spring and harvest when about half the leaves have browned.
Find your first fall frost date with the calendar linked below, and plan your planting day from there.